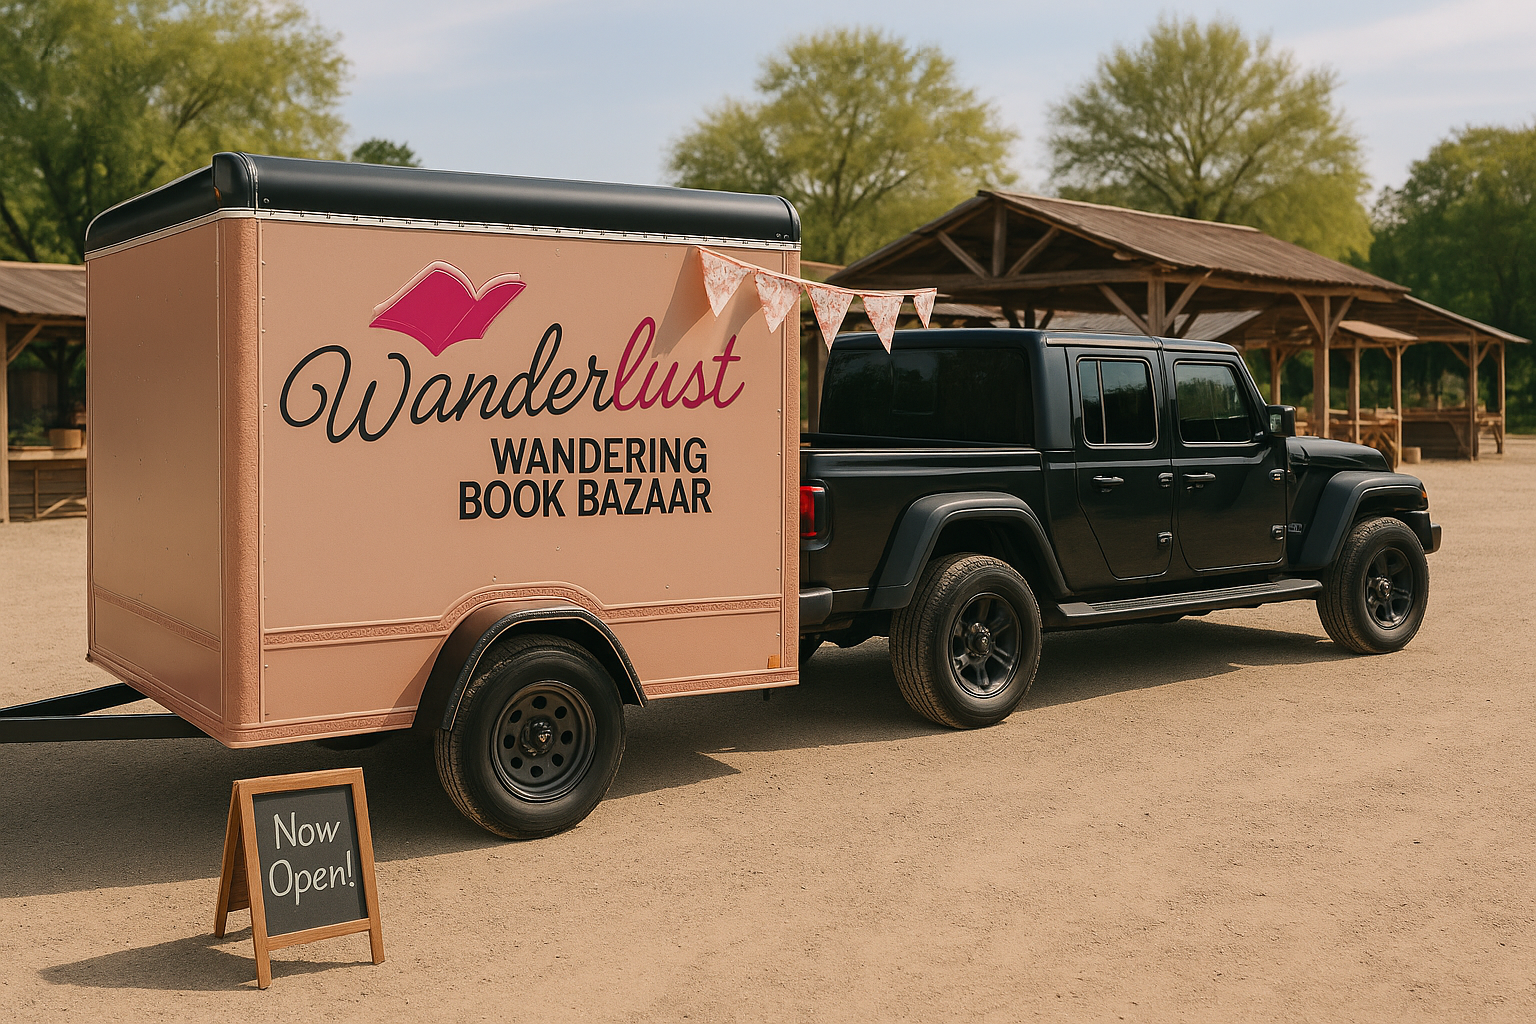
Bookshelves for the Mobile Bookstore
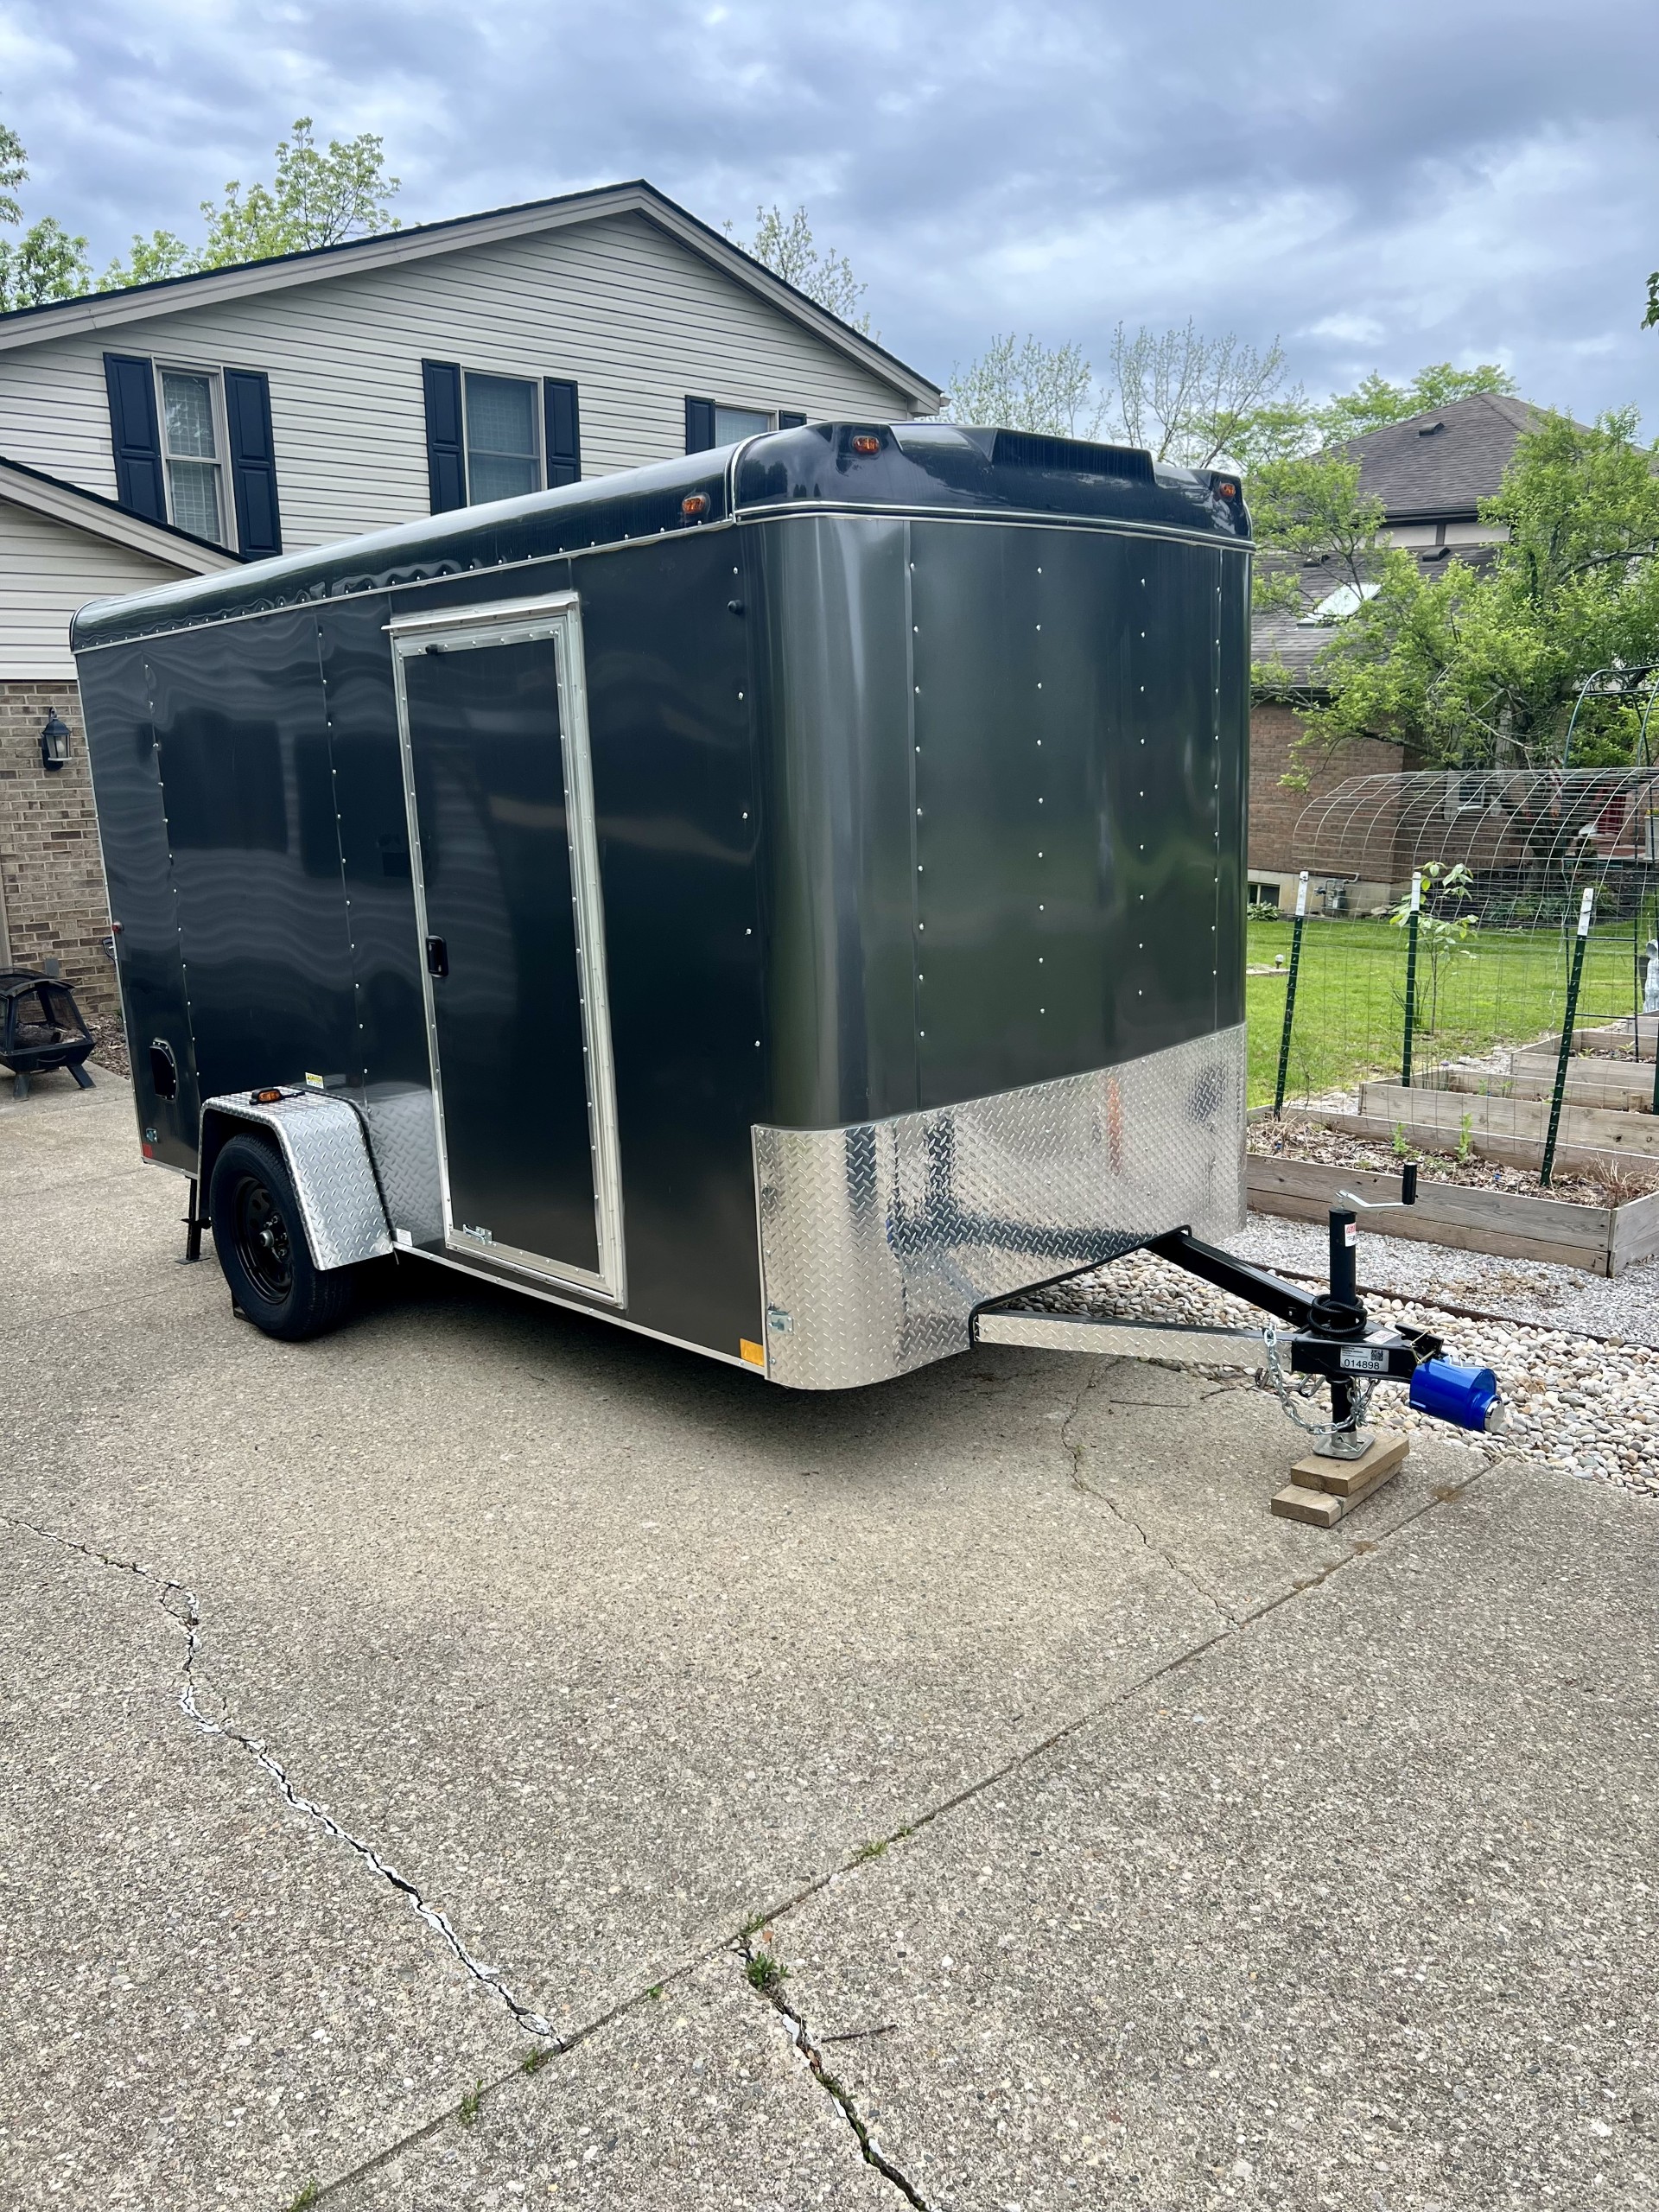
When I imagined my mobile bookstore, I pictured cozy shelves lined with all the fantasy, romantasy, and romance books I love most. Turning that dream into a rolling book nook meant figuring out how to build bookshelves that could handle bumpy roads, tight spaces, and a lot of books. In the last post you saw how I got the flooring done. In this post, I’m sharing how I tackled adding bookshelves to my mobile bookstore—what worked, what didn’t, and a few lessons I learned along the way. If you’re planning your own bookish build (or just curious how it’s coming together), read on!
Planning the Bookshelves
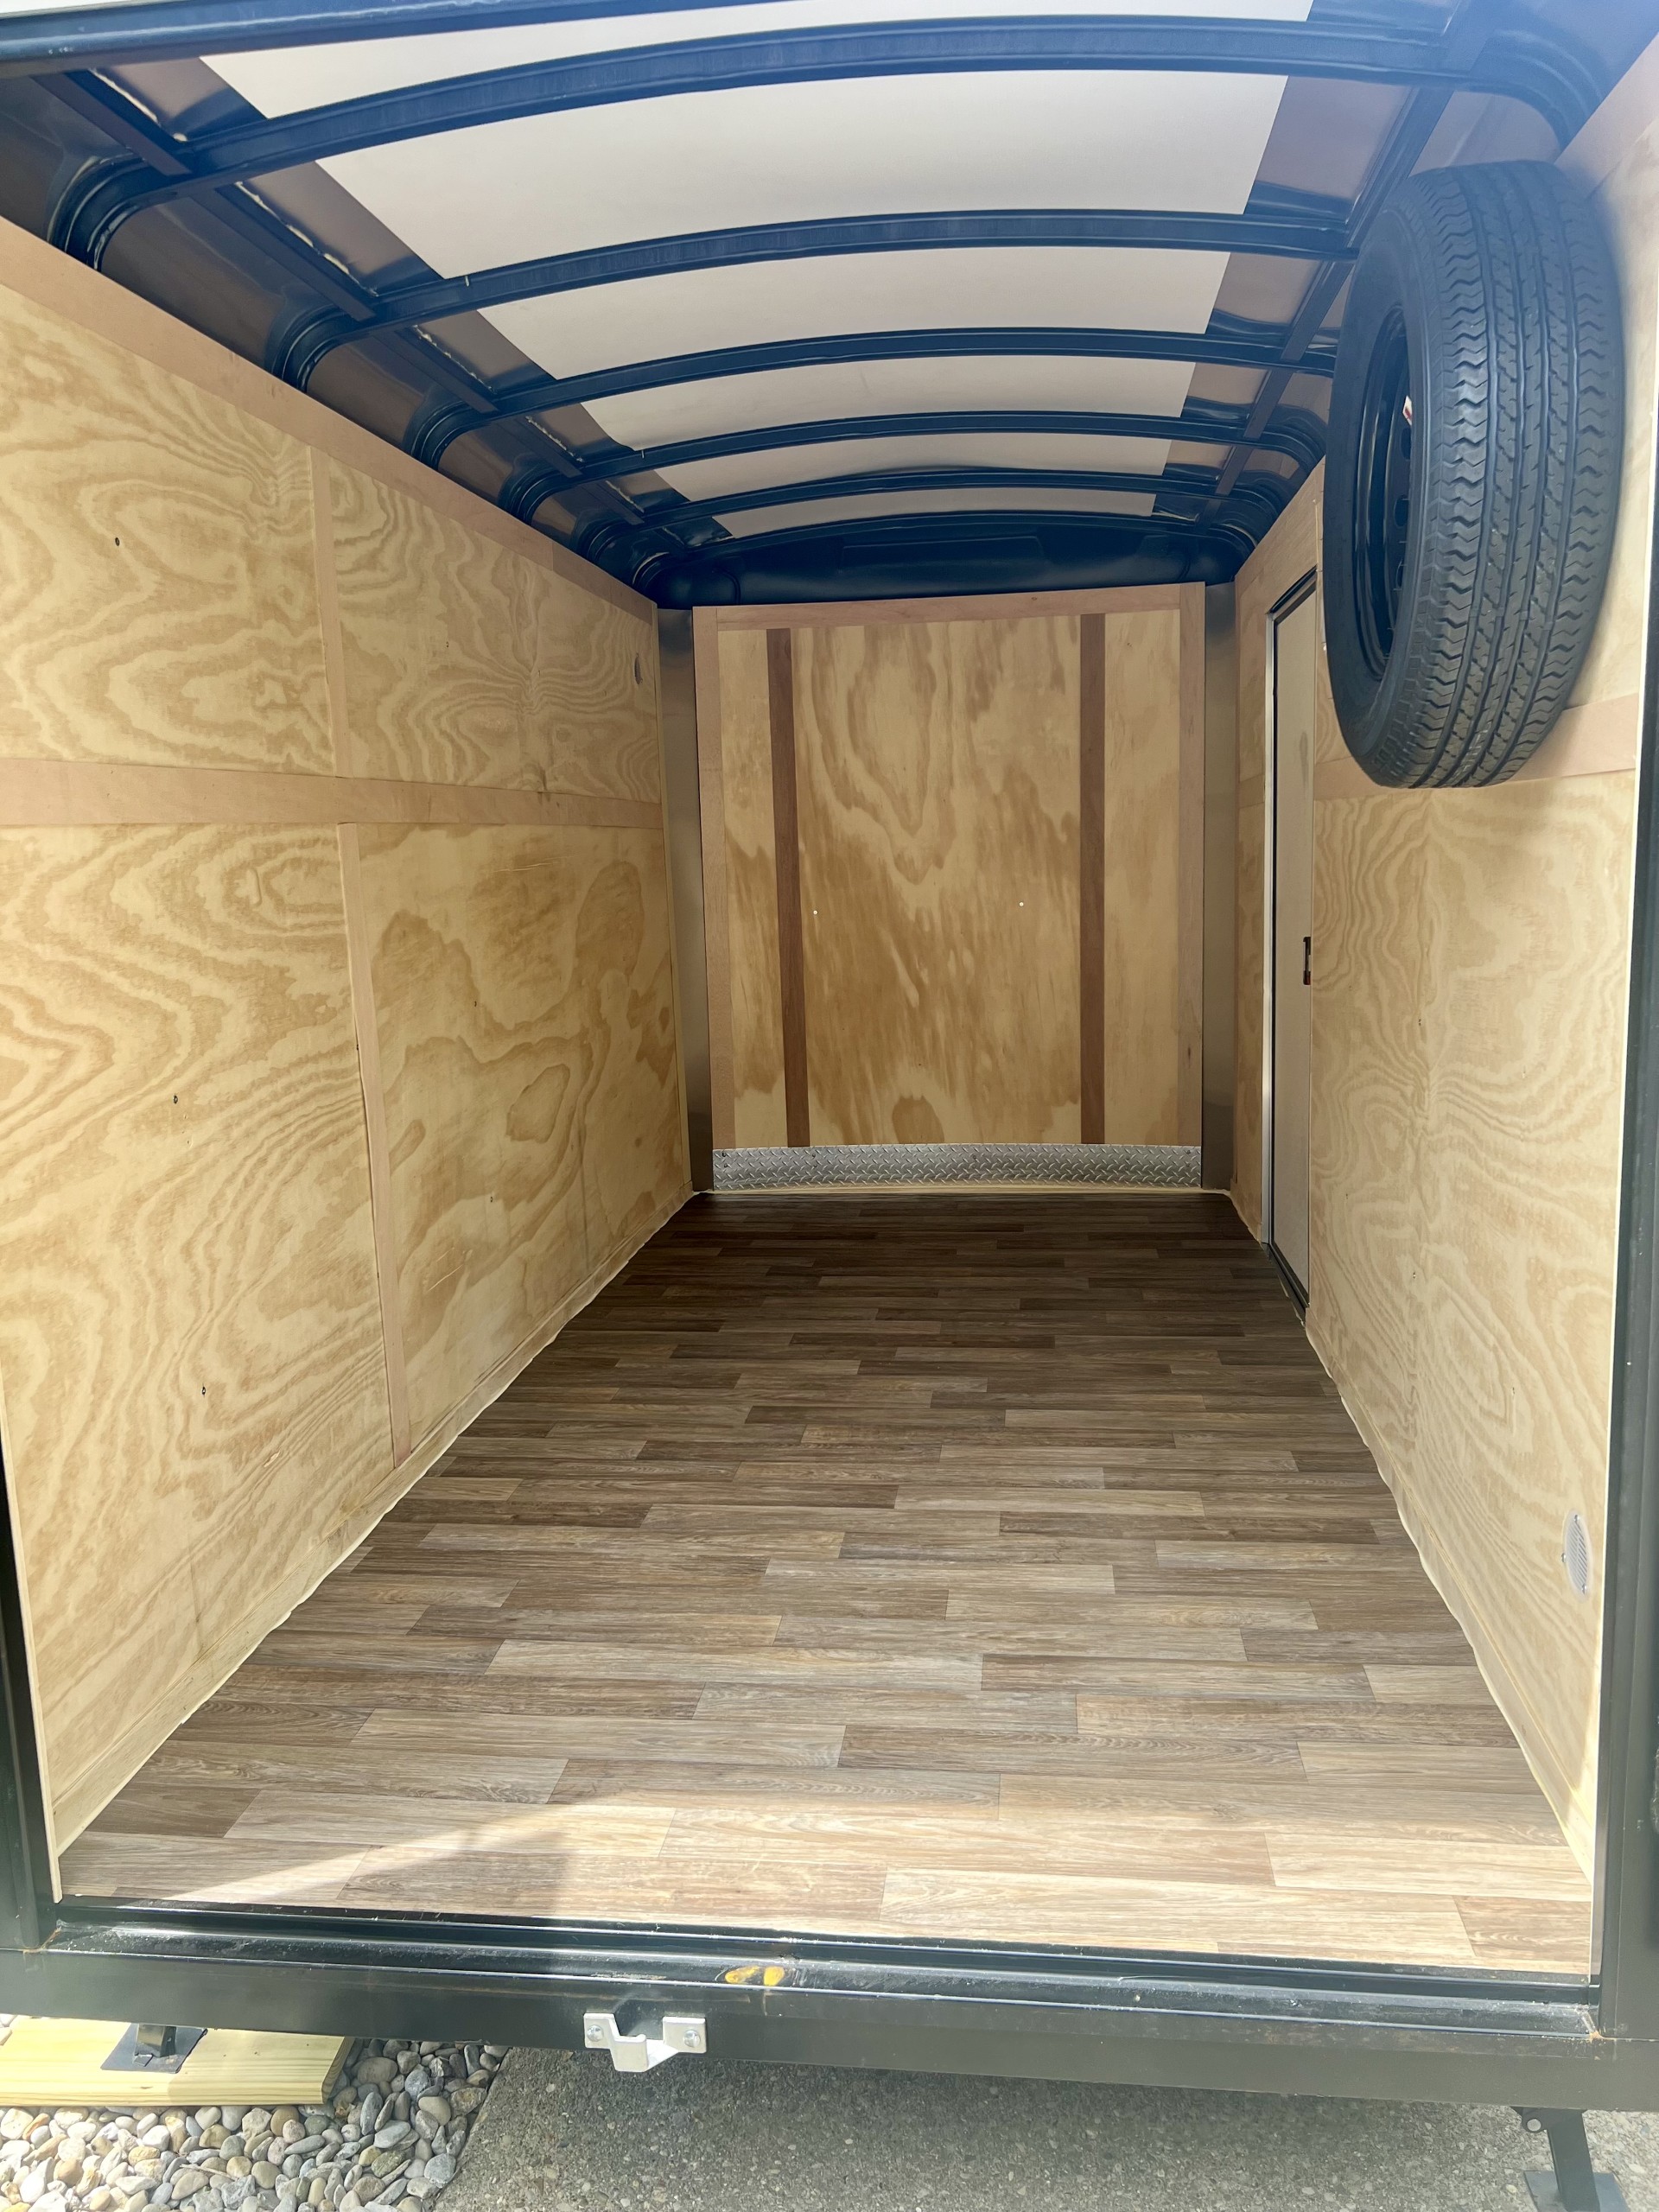
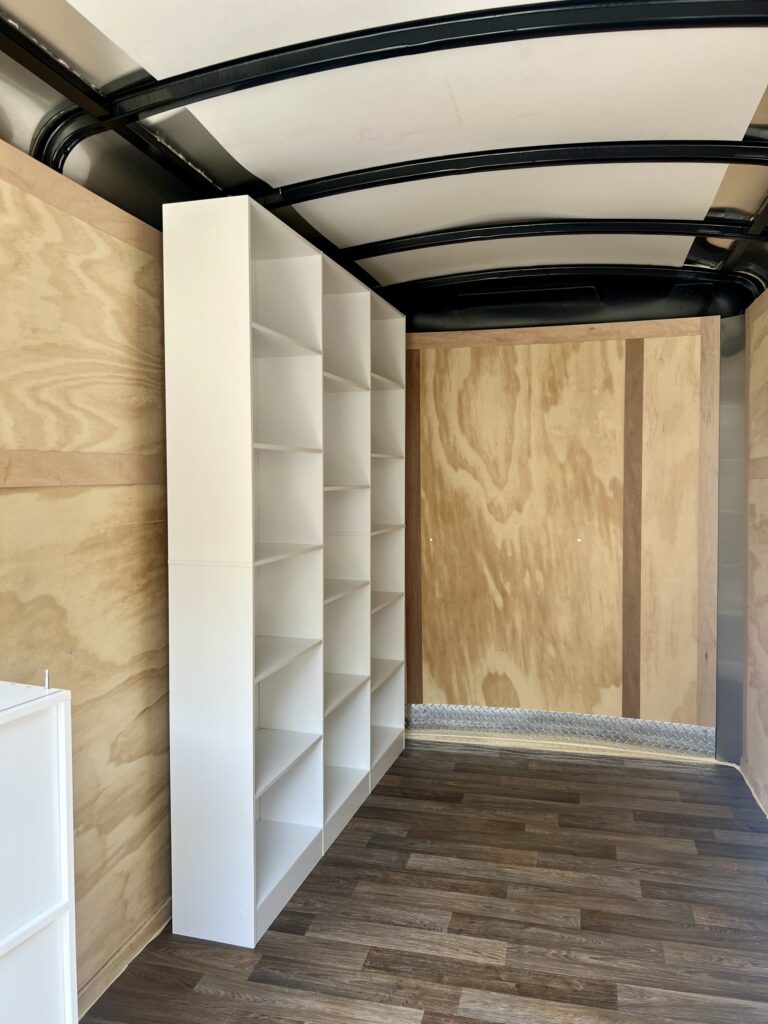
Before I could start building, I had to figure out exactly what kind of shelves would work in the space of my trailer. That meant breaking out the tape measure and working around things like curves, and doorways (no windows in mine). I thought about the types of books I’ll be stocking and planned shelf depths and heights to fit them. In the end, I sketched out a layout that fit both the space and the vibe I wanted for Wanderlust.
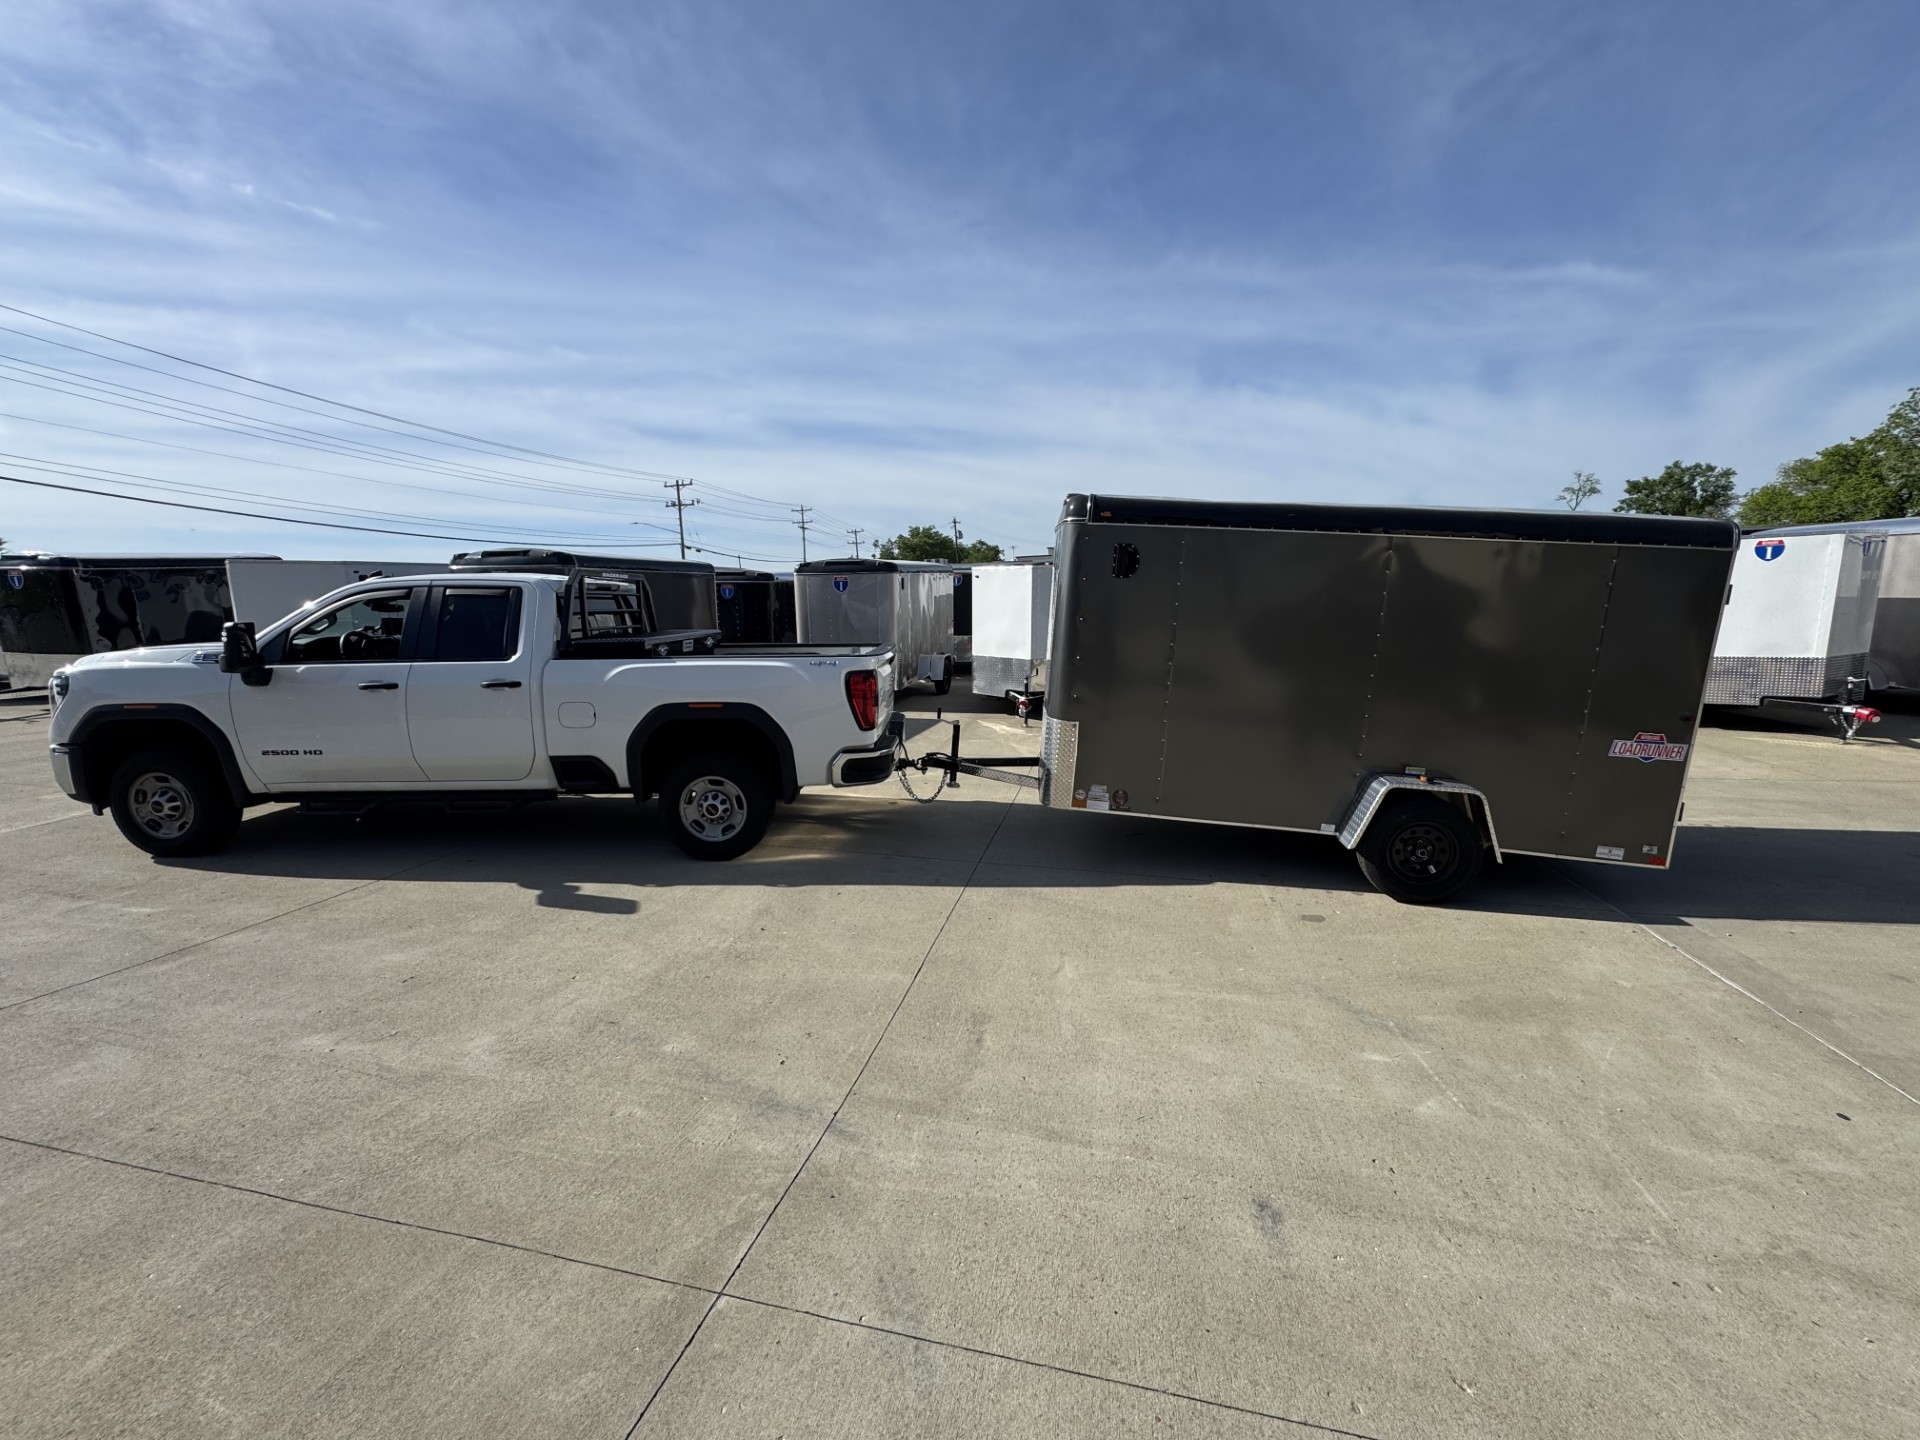
I considered building shelves, but lumber is heavy and the tow rating on my Jeep is low. I need to keep Wanderlust as light as possible to still allow for books so I opted for lightweight particleboard shelves with a laminate finish. The cost on these types of shelves is typically low and there are many styles, colors and sizes to choose from.
I ultimately decided on this style for the larger shelves lining both sides of the trailer, and I purchased one of this smaller style. The smaller one was the perfect width but ended up being too tall. I split it in half and used one half on each side of the trailer. I could have fit more shelves in there but for now this provides A LOT of shelf space. I’ll add more later if I want to. The shelves aren’t super deep– only about 9″, which I love. This leaves the center of the trailer nice and wide for customers. The total cost for this neck of the project was under $1000. That includes the extra hardware I purchased to anchor the shelves to the floor and ceiling.
Building and Installing the Shelves
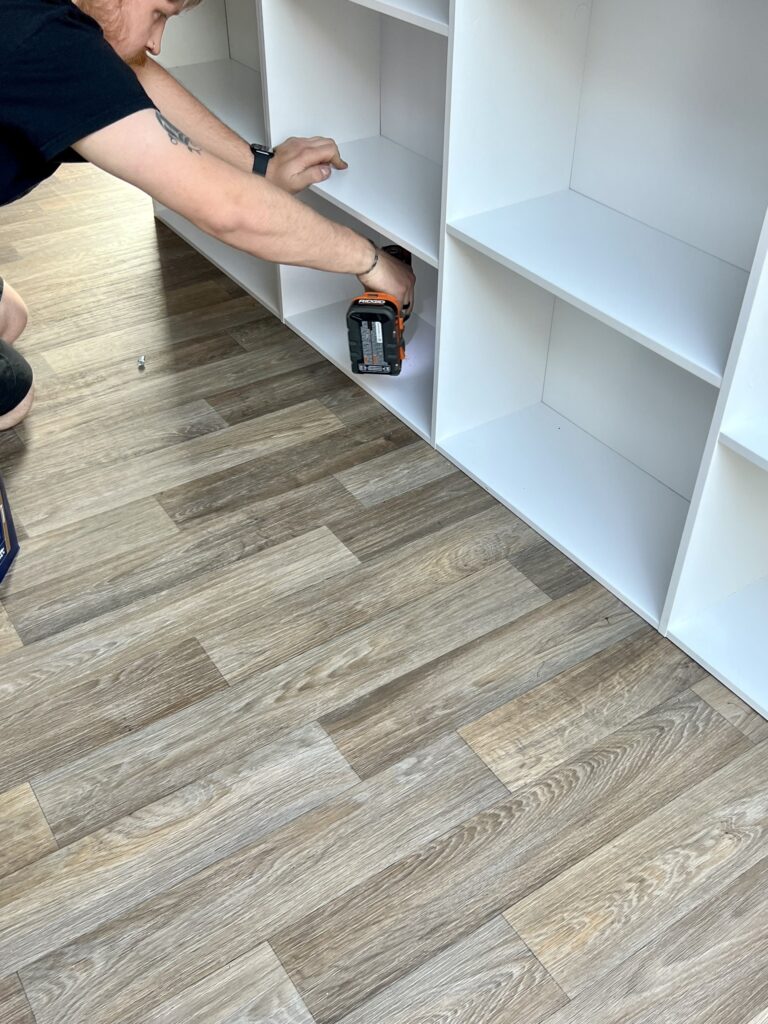
I spent Memorial Day weekend watching movies with my daughter and putting the shelves together in the living room. The larger ones took me around 2 hours each, and the smaller one took me about 40 minutes. After I got each shelf assembled we carried it out to the trailer. When I got them all assembled my stepson helped me bolt them to the floor. I purchased these L-brackets, which I spray painted white, to hold the shelves to the walls. Keep in mind that most states don’t take great care of their roads and one pothole can ruin a shelf. Don’t be stingy with your mounting hardware.
What Worked Great & What I’d Do Differently
Here are some things that I I loved, and others I would do differently if I could do it over again (and some tips):
- Be flexible with your plans. I originally planned on painting the shelves but then realized that the laminate is slick. Prep would take a ton of work and just wouldn’t be worth it. Now that my project is nearing completion, I’m glad I left the shelves white. Another color in the space would make it look too busy. Don’t be so committed to your plans that you can’t pivot when necessary.
- Measure twice, order once. I got lucky with the smaller shelf and was able to repurpose it once I realized it was going to be too tall. If it had been put together differently, I might not have been so lucky.
- If you plan to paint laminate, plan on extensive prep work, or be prepared for chipping paint.
- Try several configurations of your shelves if you aren’t sure of the best layout.
- If you only have it in the budget for a couple of shelves, try to balance as much weight as possible over the axle.
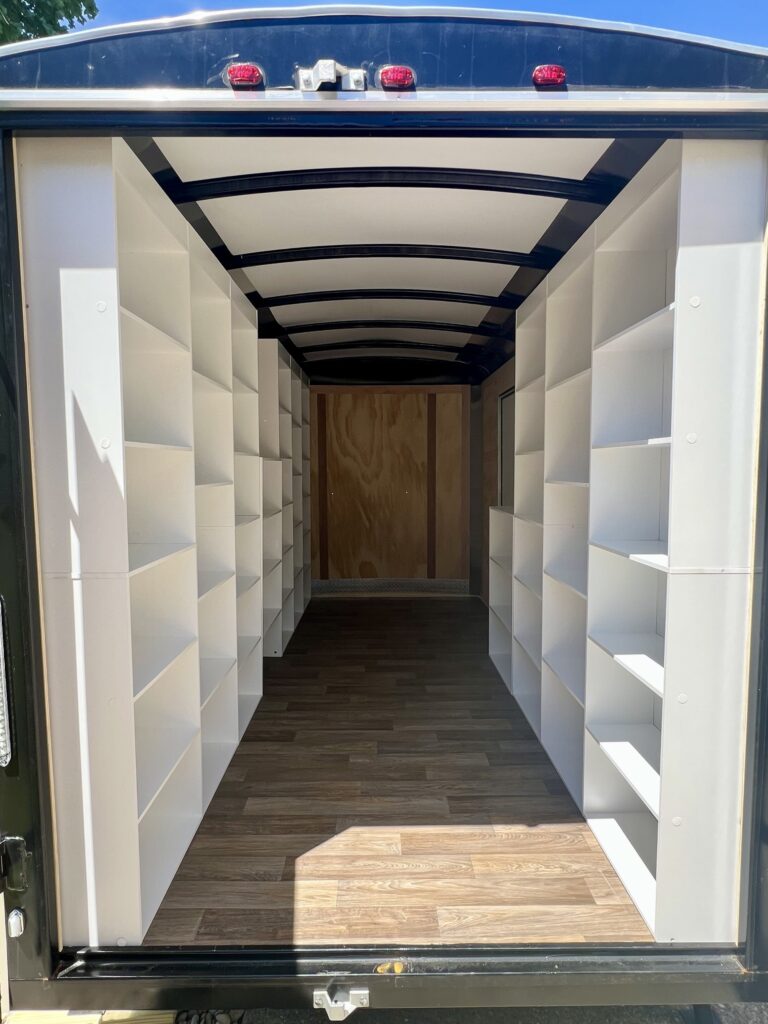
This is what the trailer looked like after we got all the shelves in. Getting them in place felt like such a big step—like Wanderlust is finally starting to look like the cozy mobile bookstore I imagined. I’m so happy with how it turned out. Next up is making it pretty with paint and wallpaper!
If you’re working on your own mobile shop or boutique, I hope this gives you some ideas or at least makes you feel less alone in the chaos! Got tips or questions? Drop a comment—I’d love to chat.
Until next time,
Happy reading & happy wandering —
𝓛𝓾𝓬𝓲
Owner & Book Curator of Wanderlust Wandering Book Bazaar