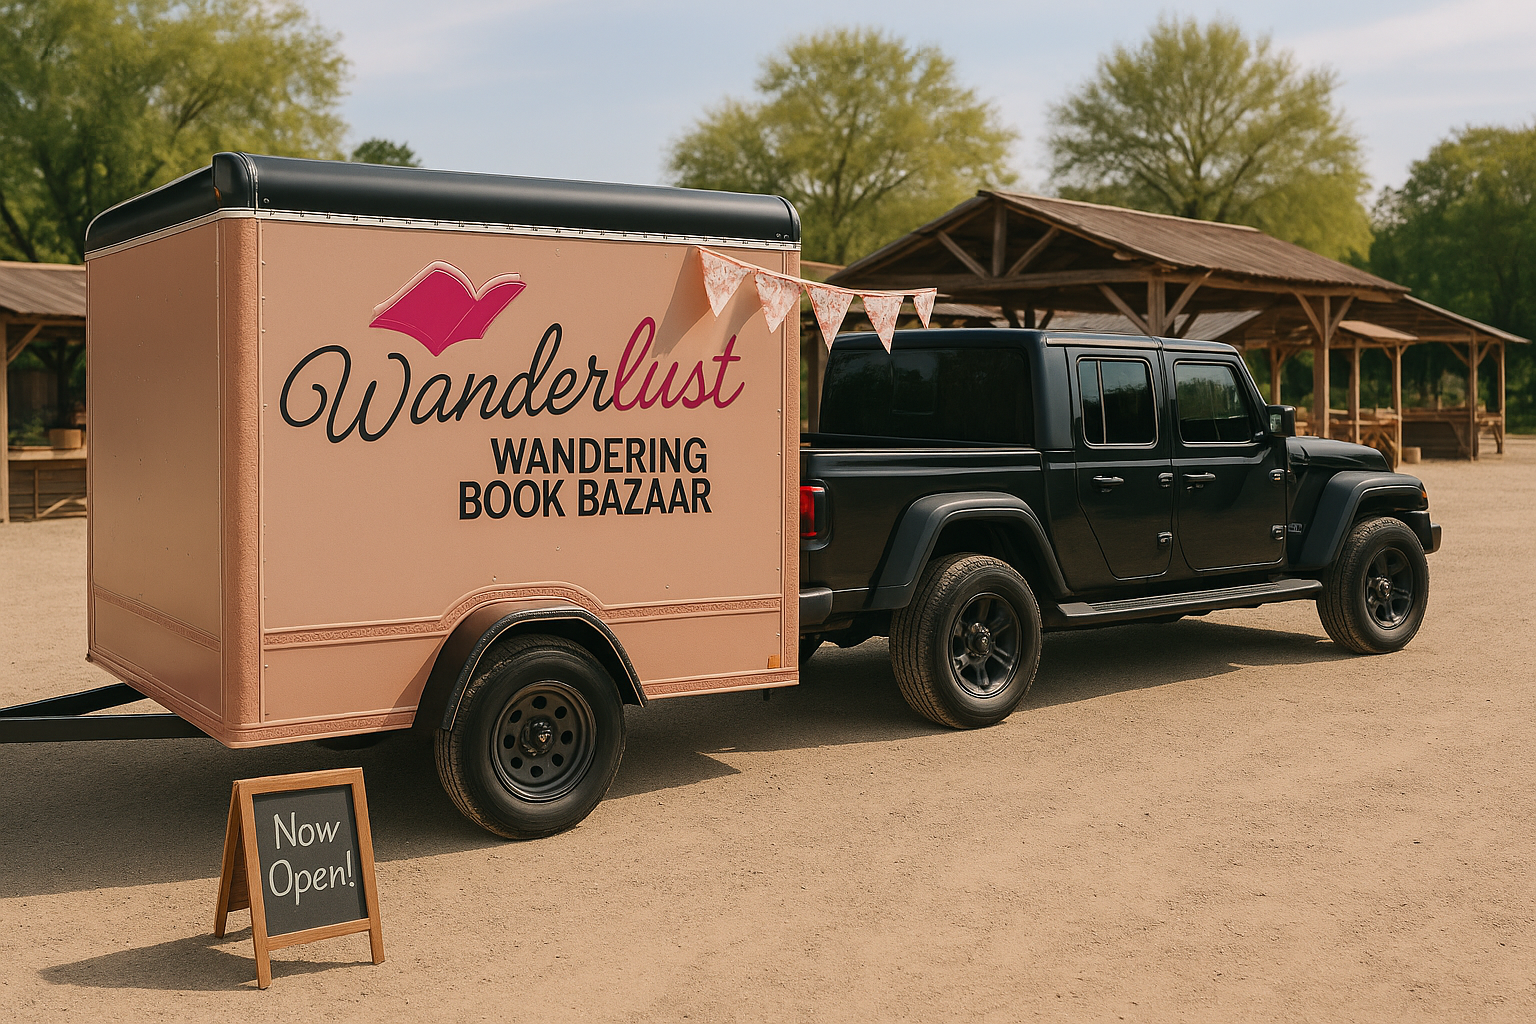
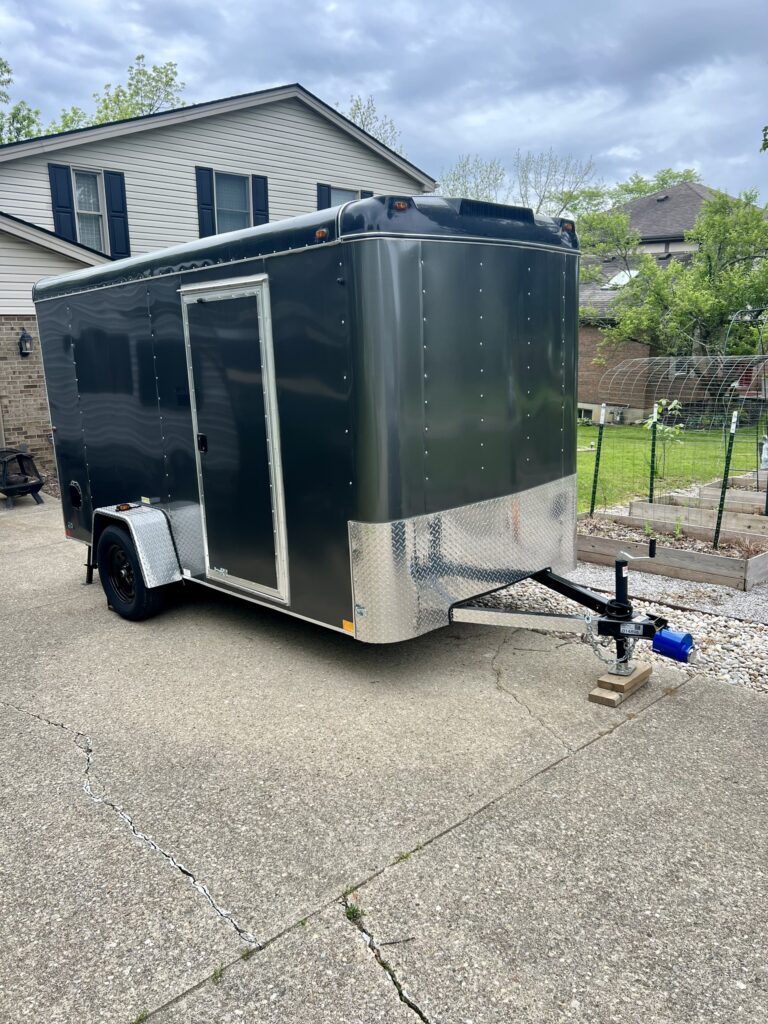
De-badging & Demo Day: Prepping Our Bookshop Cargo Trailer for the Build
As soon as we brought the new cargo trailer home, I was excited to get to work on the demo. Our shiny new trailer came with a few extras we don’t need—like factory branding, bulky hardware, and random add-ons—so the first step in turning this blank canvas into a traveling bookshop was to strip it down. From de-badging to removing fixtures, we cleared out the clutter to make room for all the bookish magic to come. Here’s what we removed and what we left:
Factory Stickers and Branding
One of the first things we tackled was removing all the factory stickers and branding from the trailer. It might seem like a small detail, but peeling off those logos was oddly satisfying—it’s like saying, “Okay, now it’s ours.” We used some elbow grease and patience to get everything off cleanly, giving the trailer a fresh start and a clean slate for all the Wanderlust vibes to come. No more stock graphics—just a blank canvas ready to become a mobile bookstore. The trick to getting them off in one piece is to go SLOWLY!
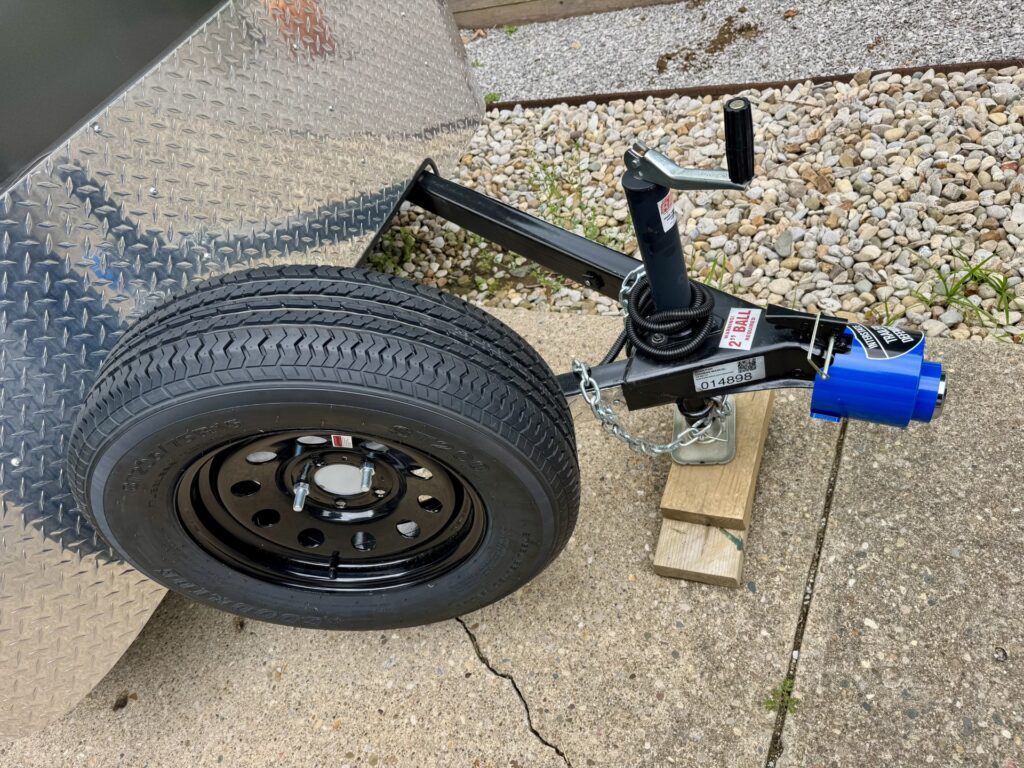
While we were all about removing the flashy logos and brand decals, we made sure to leave the important manufacturer stickers alone—like the ones that list tire pressure, torque specs, and gross vehicle weight. Those may not be the prettiest, but they’re crucial for safety and maintenance. If you’re doing a trailer makeover of your own, don’t peel those off! Trust us, you’ll want that info handy when it’s time to inflate your tires or double-check your towing capacity. Function before flair, always.
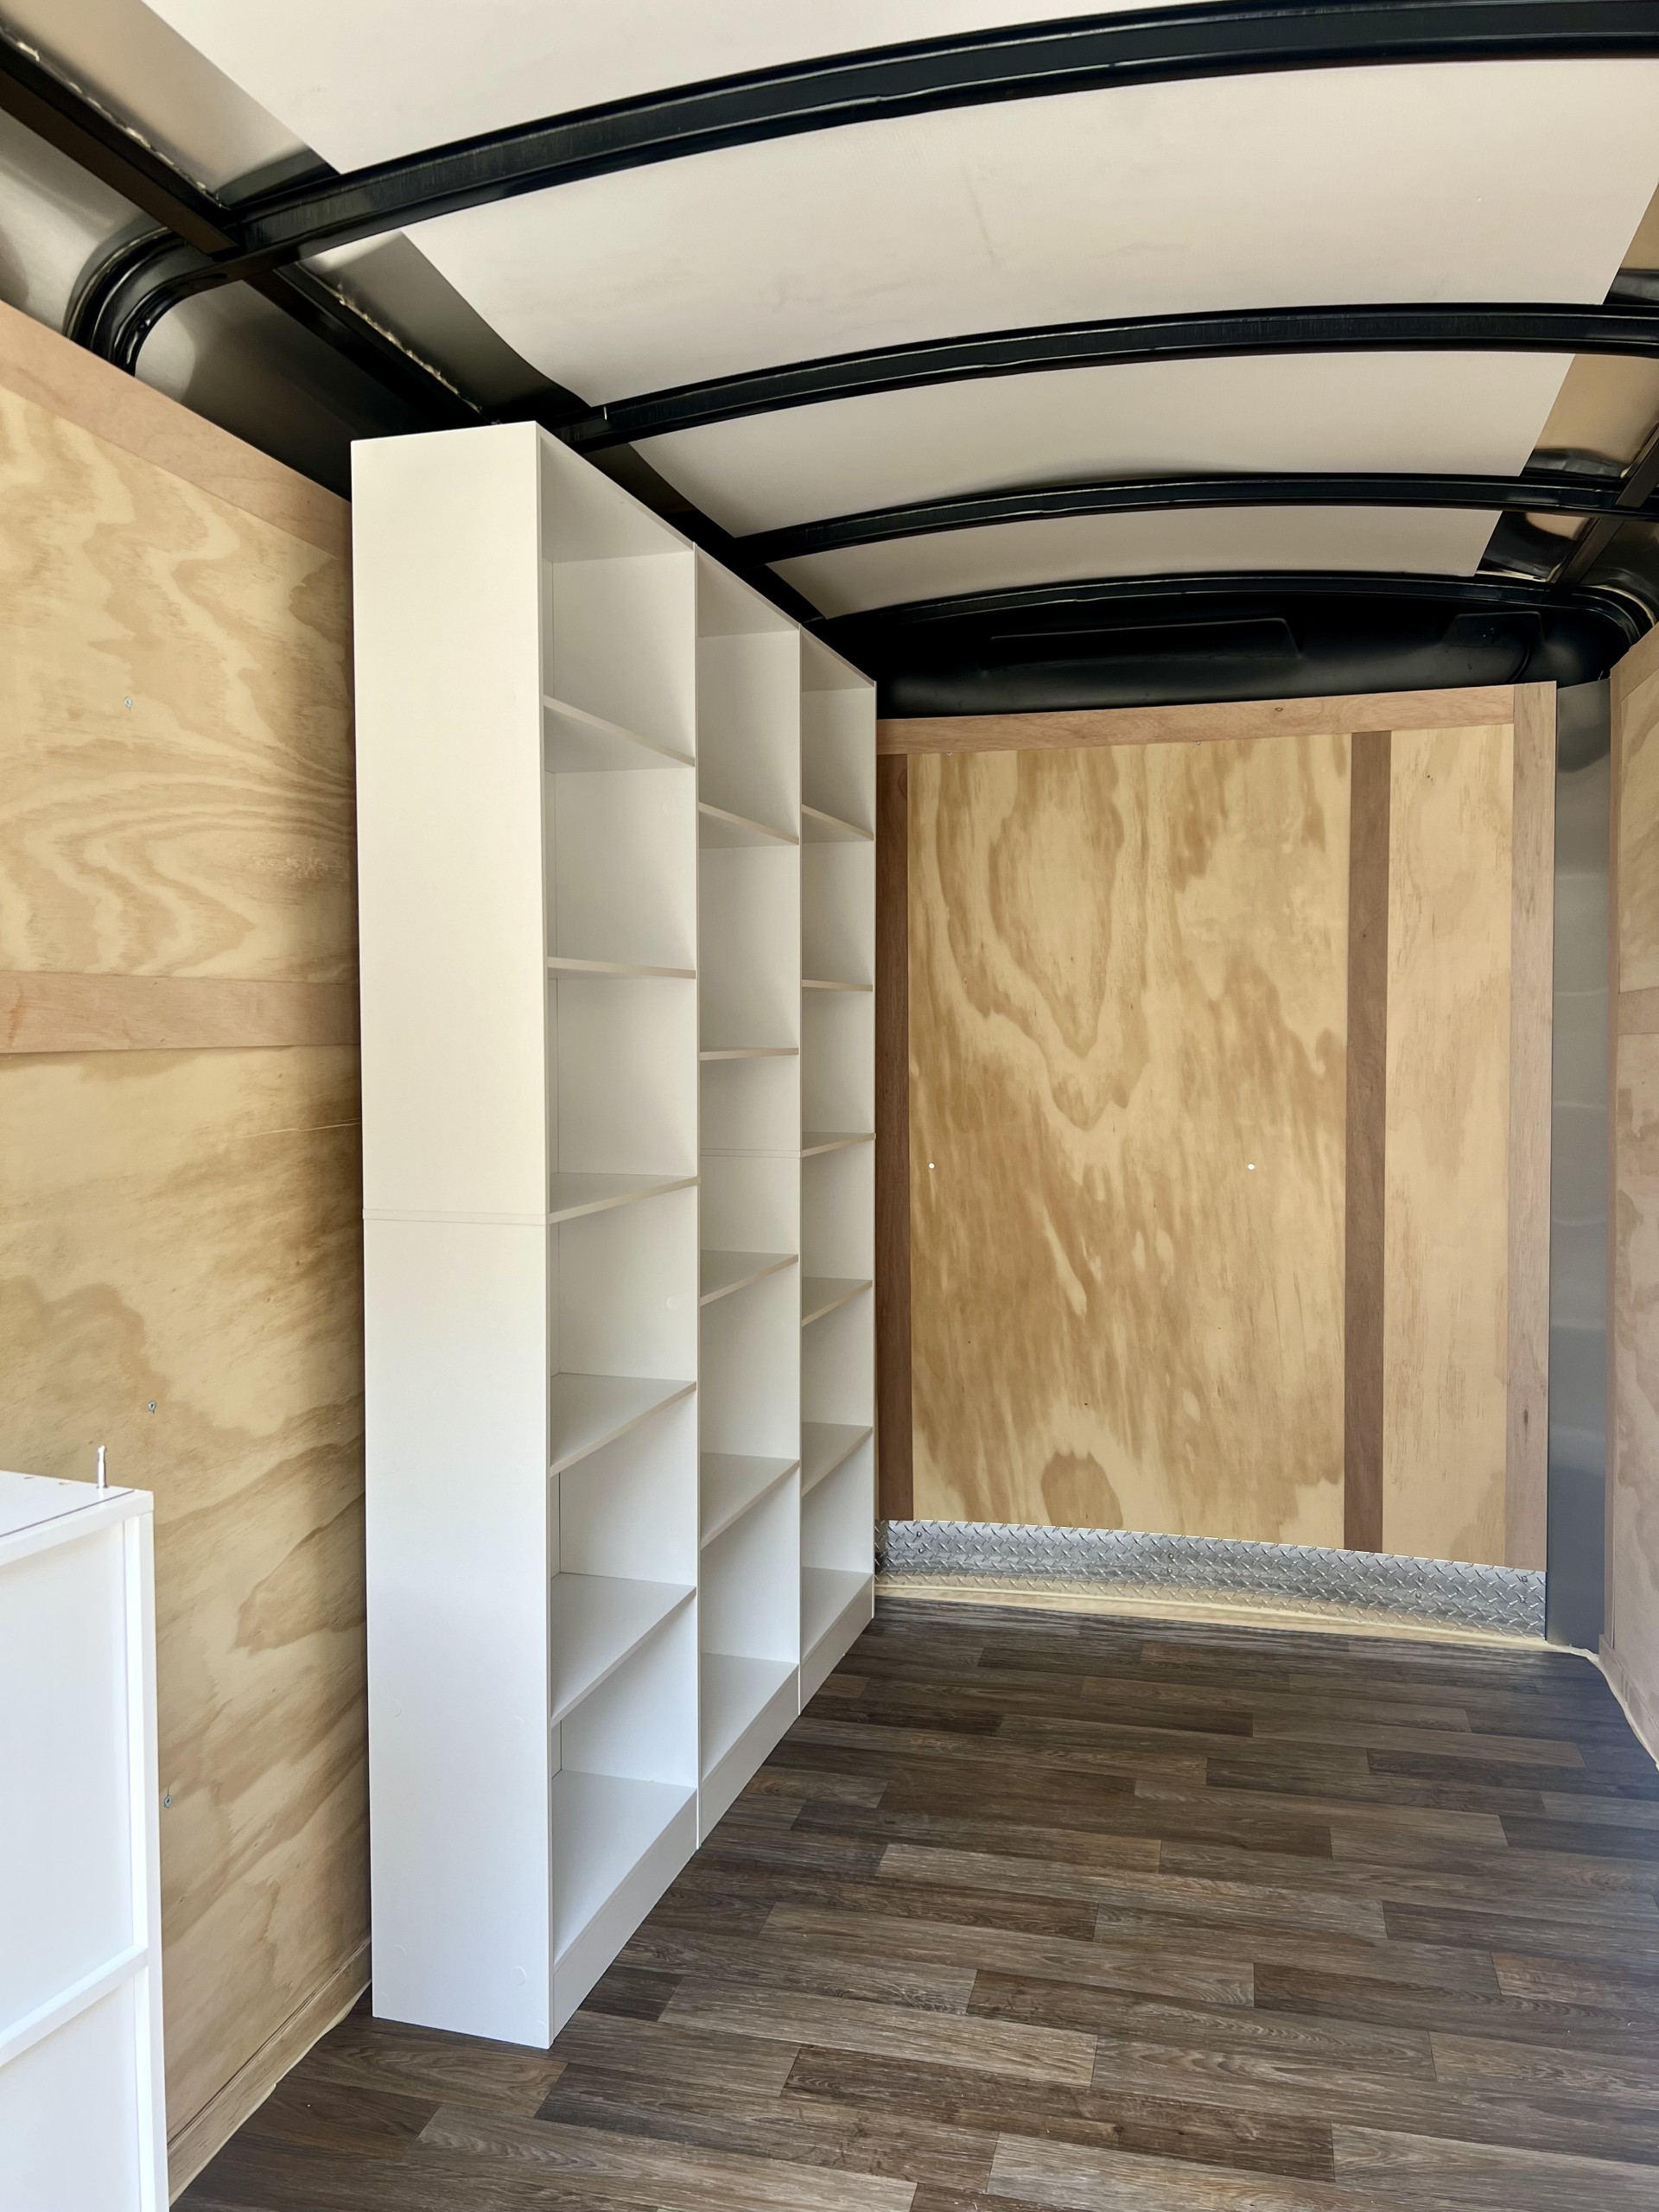
Interior D-Ring Tie-Downs
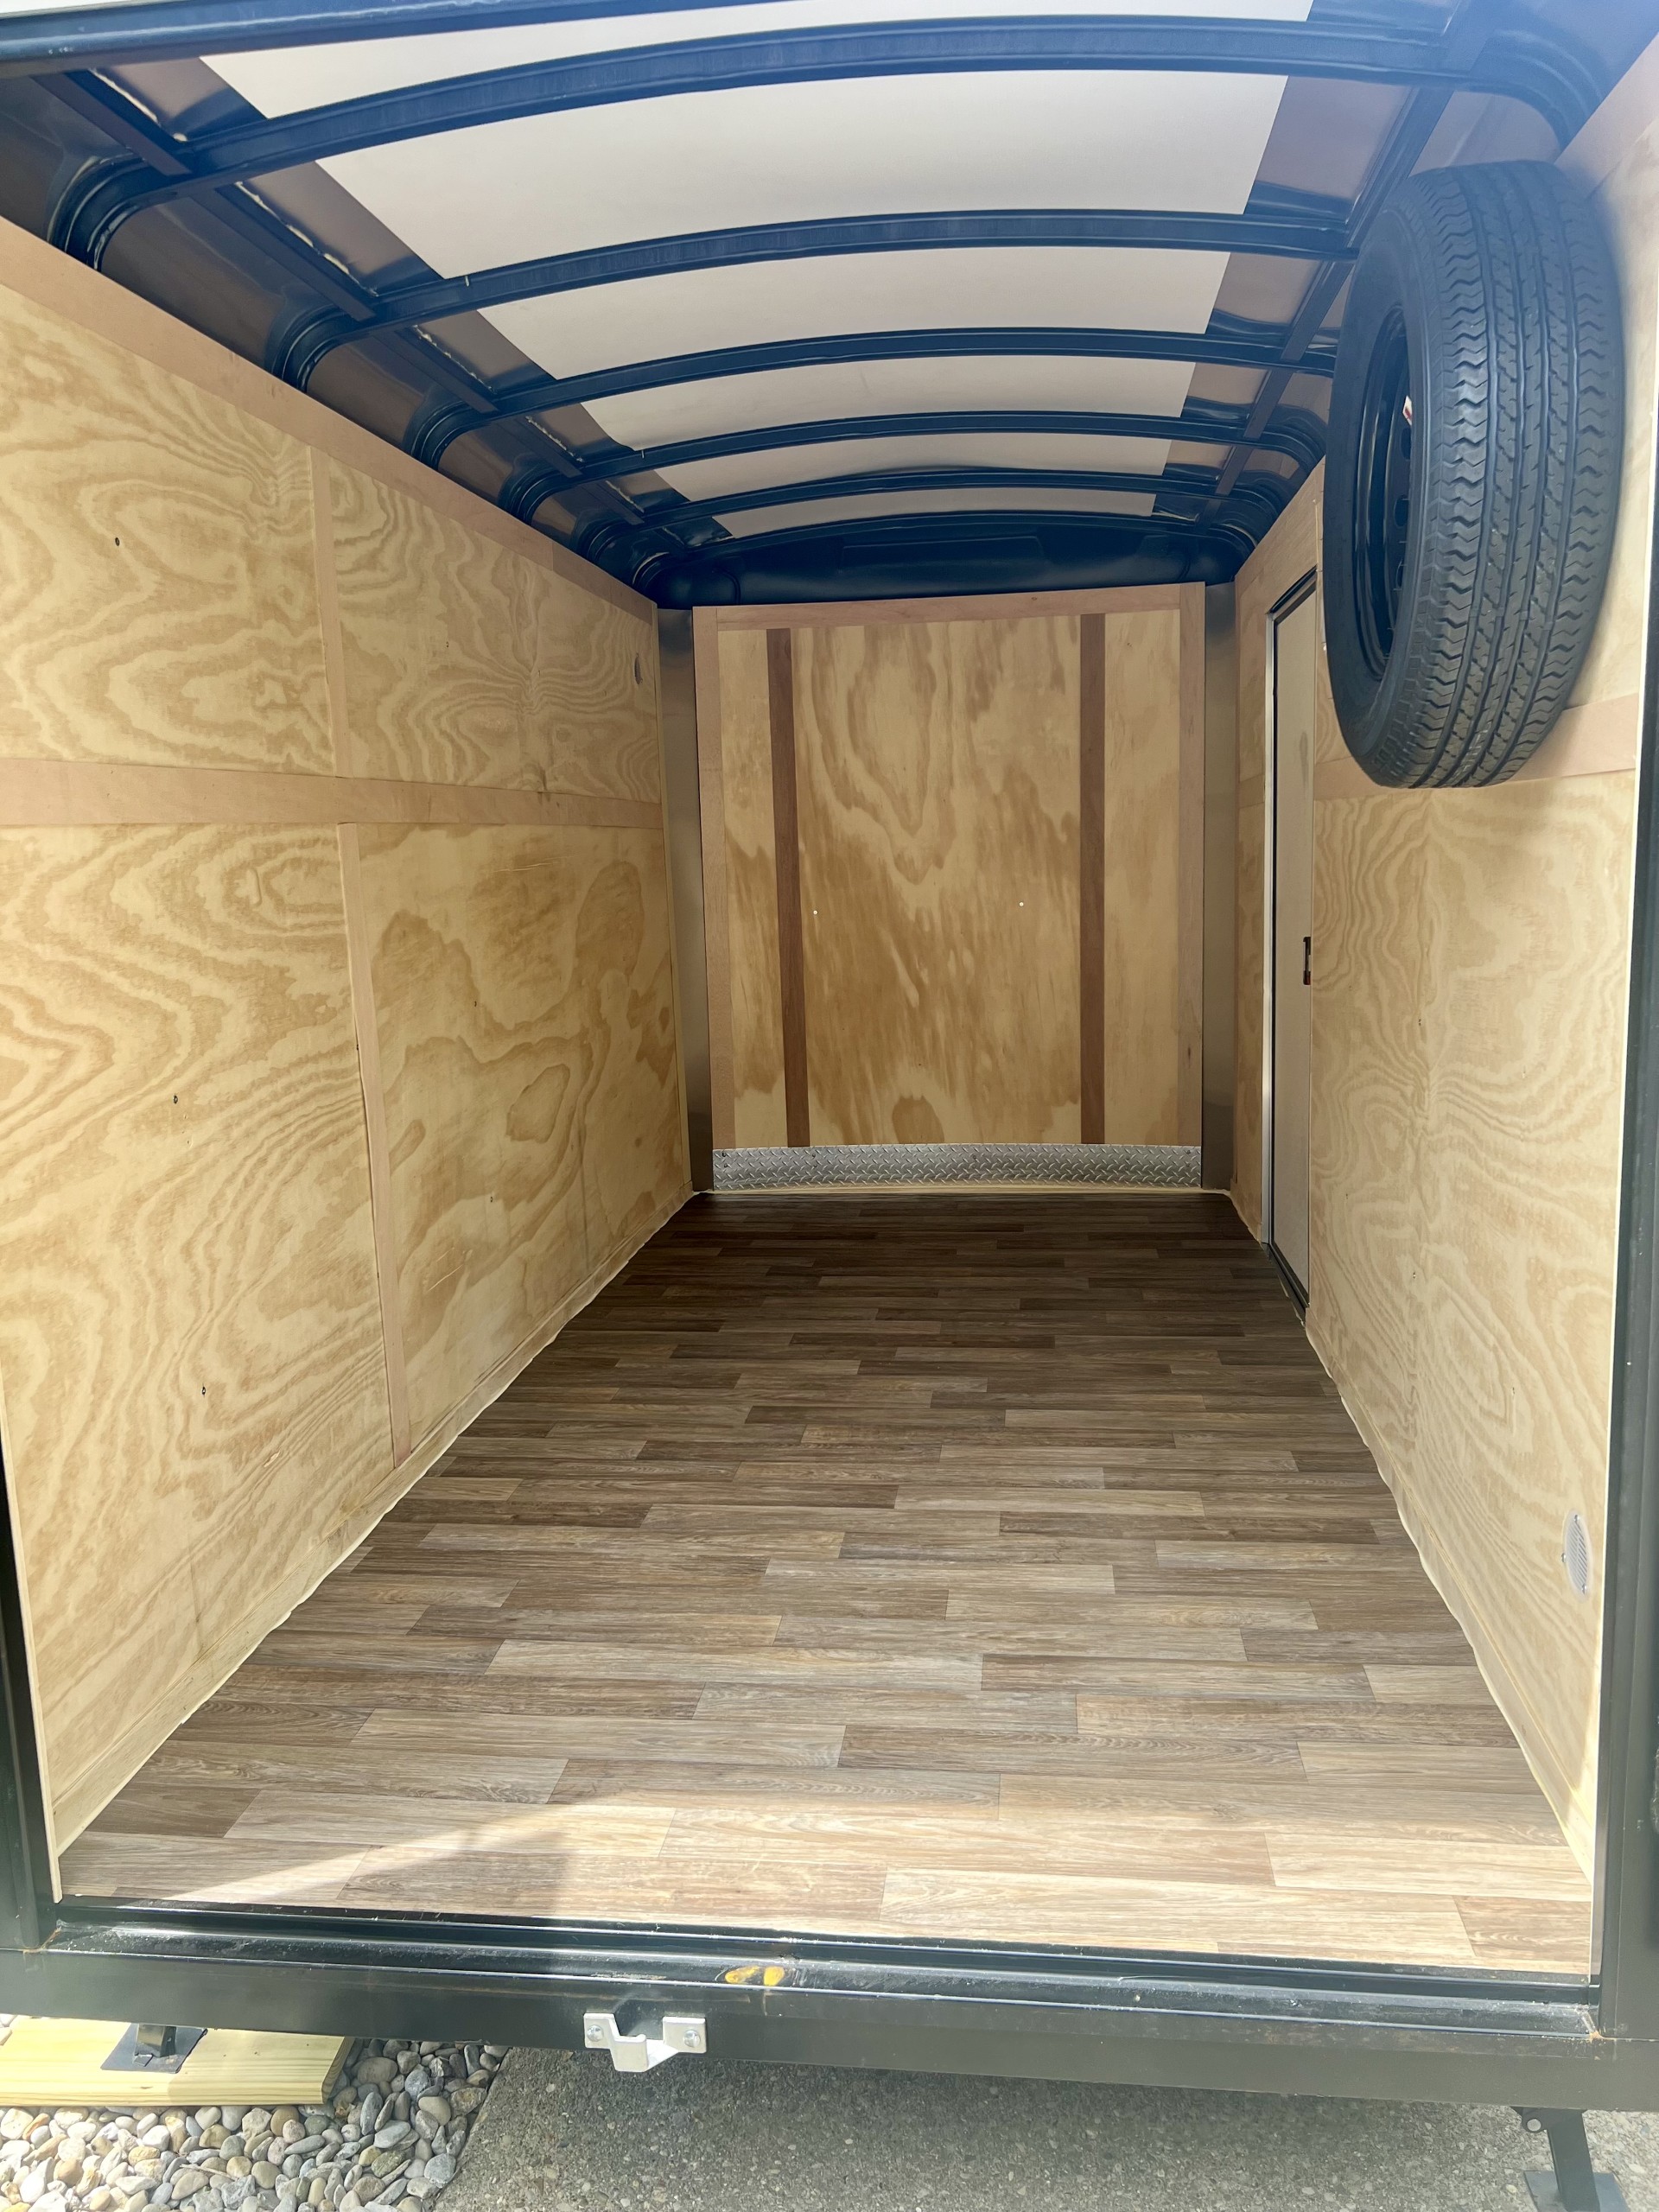
Next up on demo day: taking out all the cargo D-ring tie-downs from the floor and walls. If you’re not familiar, D-rings are heavy-duty metal anchors bolted into the trailer to secure cargo during transport—great for hauling furniture or ATVs, not so great when you’re trying to install bookshelves. I wanted the shelves to sit flush against the walls for maximum stability and a clean look, so out they went. A socket wrench and a little patience did the trick, and now the trailer’s one step closer to becoming a cozy little book nook on wheels.
Interior Spare Tire Carrier
The spare tire carrier inside the trailer had to go—it was taking up valuable wall space I need for shelving. So, off it came! I removed the interior mount and picked up an exterior spare tire carrier that bolts right onto the nose of the trailer. (This is the exact one I purchased.) Now the tire’s securely mounted outside, freeing up precious interior real estate and keeping things streamlined for the bookstore build. Plus, it’s way easier to grab if I ever need it (knock on wood I don’t!). Since I had to wait for Amazon to deliver the new spare mount, I had my flooring installed before I got the interior mount off. It was the last item I removed.
With all the branding removed, tie-downs cleared, and the spare tire relocated to the exterior, the trailer is officially stripped down and ready for the fun stuff! It might not look like much yet, but clearing out the clutter was a huge step toward transforming this space into a traveling bookstore. Next up in the trailer build series: installing the new flooring! I can’t wait to show you the finish I picked and how it totally changes the vibe inside. Stay tuned—it’s about to start looking real cute in here!
Until next time,
Happy reading & happy wandering —
𝓛𝓾𝓬𝓲
Owner & Book Curator of Wanderlust Wandering Book Bazaar